Introduction
Are you looking for a stylish and functional storage solution? DIY wooden floating shelves are an excellent way to enhance your interior decor while providing practical storage options. Not only do they save space, but they also add a touch of elegance to any room. In this comprehensive guide, we will walk you through how to build wooden floating shelves, share some floating shelf ideas for small spaces, and provide tips for easy installation.
Step-by-Step Guide to Building Wooden Floating Shelves
Creating your own floating shelves can be a rewarding woodworking project. Follow this step-by-step floating shelf tutorial to get started:
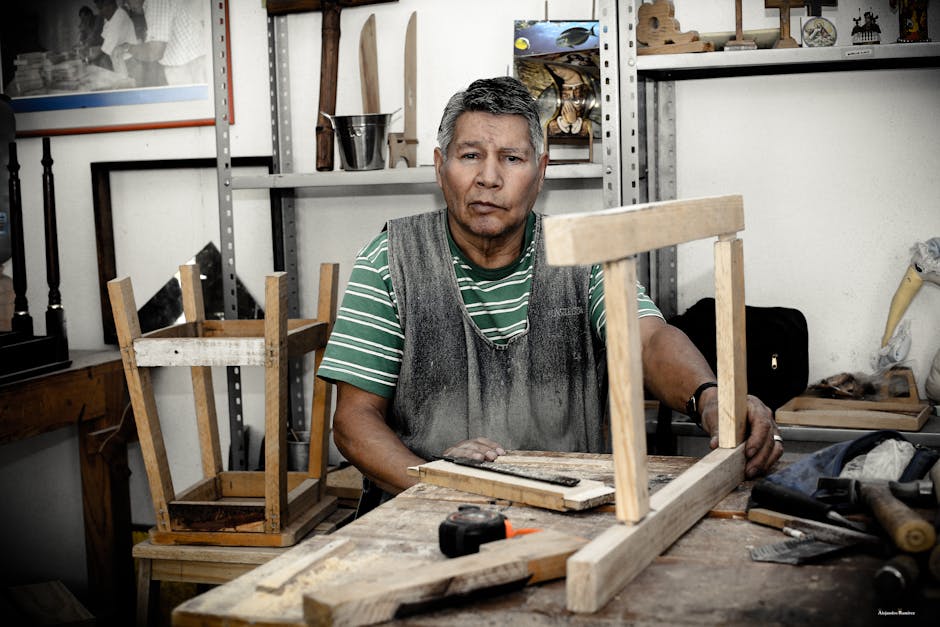
Materials Needed
- Wood boards (choose the best materials for floating shelves like pine, oak, or plywood)
- Shelf brackets (optional, depending on your design)
- Wood screws
- Wood glue
- Sandpaper
- Paint or wood stain
- Drill
- Level
- Measuring tape
Step 1: Choose Your Shelf Design
Before you start building, decide on the shelf design that fits your space. Consider the dimensions, depth, and style. Floating shelves can be simple or elaborate, so choose a design that complements your decor.
Step 2: Measure and Cut the Wood
Measure the area where you want to install your shelves. Cut the wood boards to your desired length. Remember to account for the thickness of the wood and the wall-mounted aspect of the shelves.
Step 3: Sand and Finish the Wood
Use sandpaper to smooth the edges and surfaces of the wood. This step is crucial for achieving a polished look. Once sanded, apply paint or wood stain to match your interior decor. Allow it to dry completely.
Step 4: Install the Floating Shelves
Mark the wall where you’ll place the shelves, ensuring they are level. If you’re using shelf brackets, install them according to the manufacturer’s instructions. If not, you may need to create hidden supports using dowels or brackets that are concealed behind the shelf.
Step 5: Secure the Shelves
Once the supports are in place, carefully place the shelves onto the brackets or supports. Use screws to secure the shelves to the wall, ensuring they are firmly attached and level.
Step 6: Style Your Shelves
Once installed, it’s time to add your favorite decor items. Consider books, plants, or decorative boxes to add personality to your new floating shelves.
Practical Tips for DIY Floating Shelves
- Plan Ahead: Take your time to plan your project. Good planning ensures you have all the necessary materials and tools.
- Use Quality Materials: Invest in high-quality wood for durability. Products from trusted sources like Ted's Woodworking can help you find the right materials.
- Safety First: Always wear safety goggles and a mask while working with wood and power tools.
- Consider Weight Limits: Make sure your floating shelves can handle the weight of the items you plan to display.
FAQ
1. How much weight can floating shelves hold?
The weight capacity of floating shelves depends on the materials used, the shelf brackets, and how well they are installed. Generally, a well-installed floating shelf can hold between 15 to 50 pounds.
2. Can I install floating shelves in a small space?
Yes! DIY floating shelves for living room or any small area can maximize vertical space without consuming floor space, making them perfect for tight areas.
3. What are the best materials for floating shelves?
Hardwoods like oak or maple are excellent for their strength and aesthetic appeal. Plywood is also a popular option for a budget-friendly and durable shelf.
Conclusion
DIY wooden floating shelves are not just a functional storage solution; they also enhance your home's interior decor. With the right materials and a step-by-step approach, you can create beautiful custom shelves that fit your style and needs. Whether you are a beginner or an experienced woodworker, this project is perfect for anyone looking to improve their home organization. Start your woodworking adventure today!
🔨 Want 16,000+ Woodworking Plans?
Ted's Woodworking gives you instant access to over 16,000 step-by-step plans with detailed blueprints, cut lists, and material lists for every project.
Get Instant Access →